Risks can happen at any time, and you cannot predict everything. It is not good if the tires blow out just in time when you forget your phone at home. Although you can search for steps through your cell phone, what if it runs out of battery in an emergency?
And change a tire is one of the essential skills that drivers need to know. The following article will tell you how to change a flat tire with step by step guide so you can confidently face any situation.
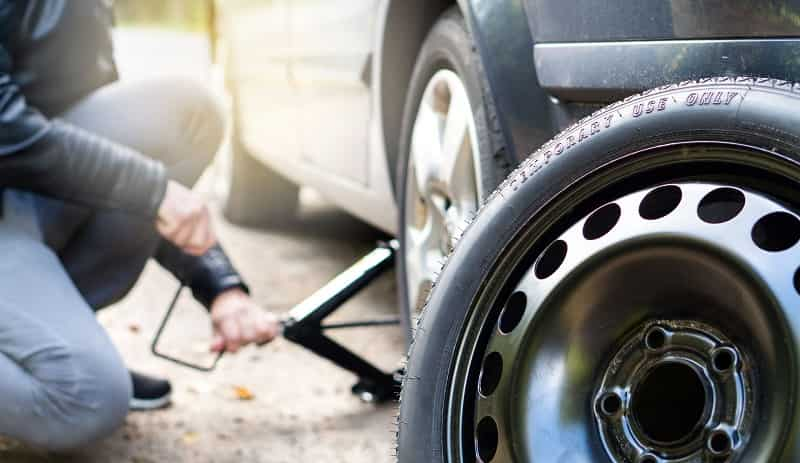
So arm yourself with knowledge about replacing new tires for more peace of mind. Do not worry too much because changing tires is not rugged, as long as you follow the proper steps and rules.
Contents
- Materials Needed to Change a Flat Tire
- How to Change a Flat Tire: 18 Simple Steps
- 1. Look for a Safe Tire Changing Place
- 2. Do not Forget the Hazard Lights
- 3. Use the Handbrake
- 4. Be Safe with Wheel Wedges
- 5. Discard the Hubcap
- 6. Remove the Wheel Nut
- 7. Use the Jack to Lift the Car
- 8. Use Small Pieces of Pre-cut Wood
- 9. Remove the Wheel Nut Completely
- 10. Remove the Flat Tire from the Car
- 11. Attach the Spare Tire to the Lug Bolts
- 12. Tighten the Lug Nuts
- 13. Remove Wheel Wedges
- 14. Lower the Car to the Ground Completely
- 15. Put Hubcap in the Original Position
- 16. Put away all the Tools in the Car
- 17. Don't Skip New Tire Pressure
- 18. Get a Professional Mechanic
- Conclusion
Materials Needed to Change a Flat Tire
Each car always needs to have the following items in the trunk:
- The spare tire has been inflated
- Lug wrench
- Car jack
- Manufacturer's instructions for use
Please add the tools that your car lacks. In addition, you should regularly check the tire's inflation to see if it has reached the standard PSI index. Finally, before you start a long journey and carry a lot of stuff, check the spare tire air pressure.
Besides, you should prepare a few more items below in the trunk to be ready to change tires anywhere:
- Gloves
- Small pieces of pre-cut wood (used to fix the Jack)
- Flashlight works well
- Raincoat
How to Change a Flat Tire: 18 Simple Steps
1. Look for a Safe Tire Changing Place
The first step before embarking on a tire change is to find the safest place. When you see a car showing flat tire signs, you should not rush to suddenly turn the wheel or brake. You have to look around while slowing down. It is best to find a place that is spacious and flat.
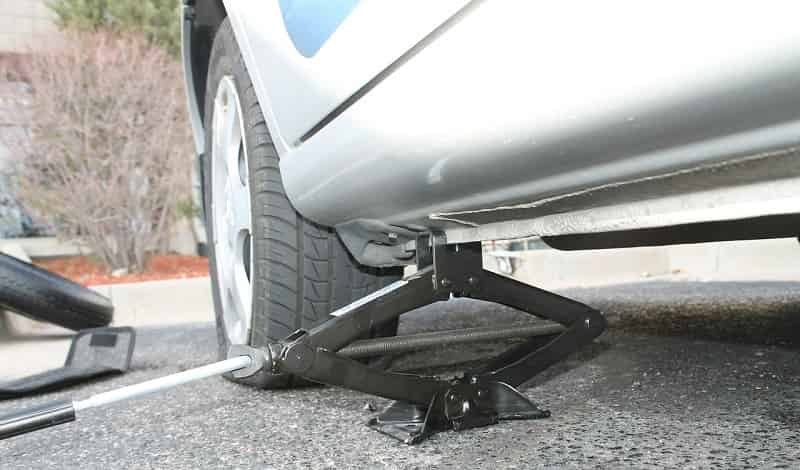
If you choose a ramp, your car may slide down. In addition, the flat road will ensure visibility for other drivers to avoid collisions. Either way, try to find a comprehensive, low-traffic stretch of road.
2. Do not Forget the Hazard Lights
It would be best if you turned on the hazard lights (flashes) to signal other drivers crossing the road. Turn the lights on immediately when you stop to avoid accidents.
3. Use the Handbrake
Many unfortunate accidents happen because cars slide down when parked. Before changing a new tire, use the handbrake to keep the car balanced.
4. Be Safe with Wheel Wedges
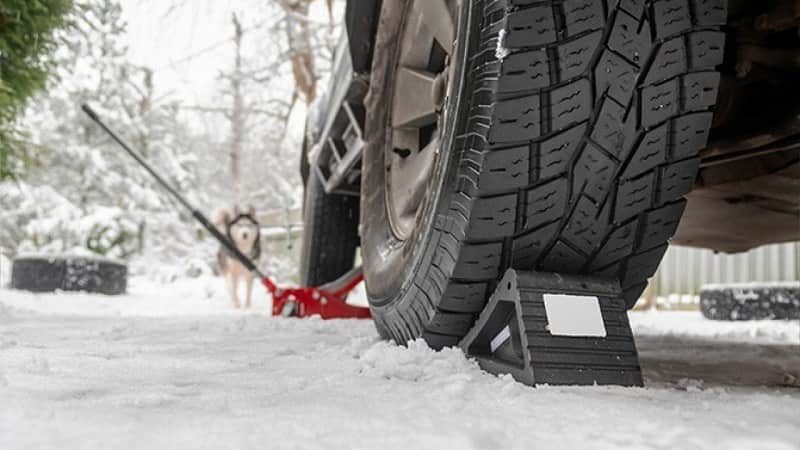
They are a replacement for the handbrake when you change a flat tire because you cannot use the handbrake and change the tire at the same time. Place wheel wedges on the rear tire if you are changing the front tire and do the opposite.
5. Discard the Hubcap
Before performing the following steps, remove it on your wheel. However, skip this step if your car does not have a hubcap.
6. Remove the Wheel Nut
Remove the wheel nut with the lug wrench you prepared earlier. Turn it counter-clockwise until the nut is loose and closes off.
However, do not cause the wheel nut to fall out entirely, but loosen it by about ¼. When removing the tire from the car, eradicate it.
7. Use the Jack to Lift the Car
Follow the manufacturer's instructions to avoid car damage and perform it safely.
8. Use Small Pieces of Pre-cut Wood
Raise the car about 6 inches off the ground. This small piece of wood has the effect of balancing the car's weight when you lift the car. After lifting the car, you must not leave any parts under it.
9. Remove the Wheel Nut Completely
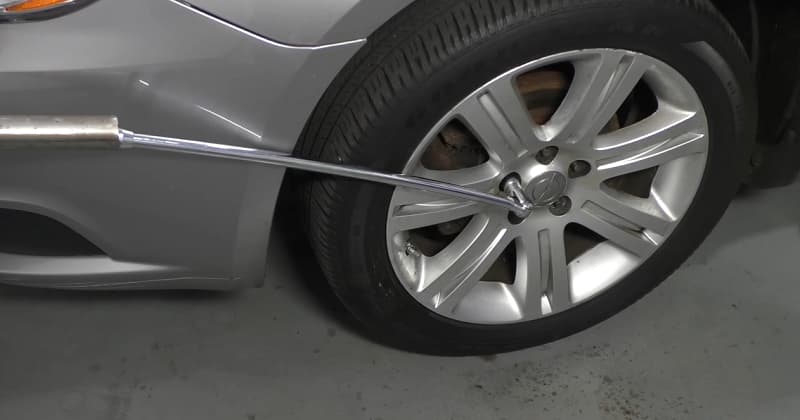
After your vehicle is lifted, proceed to unscrew the nuts and put them in a safe place to avoid losing them.
10. Remove the Flat Tire from the Car
Find out where the grooves of the tire are and use clamps to clamp the wheel. Slowly pull it carefully toward it until the tire is entirely out of the car. Remember to lay it on not to roll around.
11. Attach the Spare Tire to the Lug Bolts
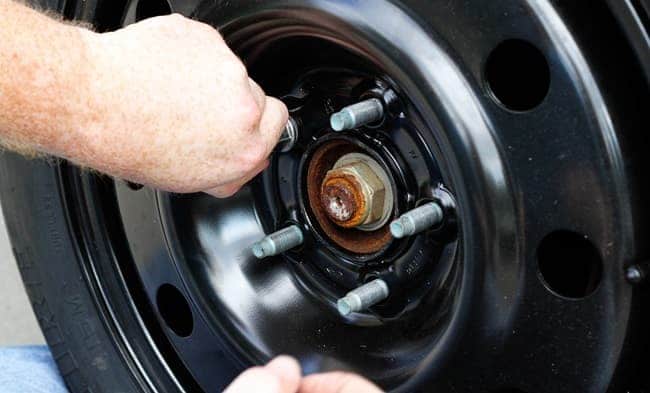
12. Tighten the Lug Nuts
After doing step 11, you put the correct position of the lug nuts into the lug bolts. Tighten them by hand. Check them one by one to see if they are tight enough.
13. Remove Wheel Wedges
Remove wheel wedges and then lower the car with the jack, but the weight is not put on the tires. Use a wrench to tighten the nuts clockwise. Twist it with all your strength.
14. Lower the Car to the Ground Completely
At this point, you can lower the car to its original state and check the nuts to see if they are all tight.
15. Put Hubcap in the Original Position
If you removed the hubcap as in step 5, put it back where you originally arranged it. If it does not fit the new tire, keep it in the trunk.
16. Put away all the Tools in the Car
Remember to check if you have left any tools outside before continuing your journey. Do not leave any belongings behind.
17. Don't Skip New Tire Pressure
Even if you are using a new one, do not forget to look for the new tire pressure. If it is not standard, try to go to the nearest auto repair shop to add pressure.
18. Get a Professional Mechanic
This final step is for those who have changed their spare tire that is not suitable for long-distance driving. At this point, go at a sufficient speed until you find a maintenance specialist. They will help you determine the condition of the tires.
Conclusion
When driving, you need to equip yourself with some basic handling techniques. Changing a new tire is a simple task, but it has some caveats that not everyone knows.
To prevent bad things from happening to your tires while driving, arm yourself with the basics of this technique. Hopefully, through this article, you know how to change a flat tire with step by step guide to making you more confident in your trips.
I’m Ivo Gievski, the content writer for Tireer. We built our website with over 15 years of experience and extensive research in the automotive and technology sectors. My dedication to delivering high-quality content is unwavering, and I strive to continuously hone my skills to stay ahead of industry trends and provide readers with informative, engaging, and valuable insights.