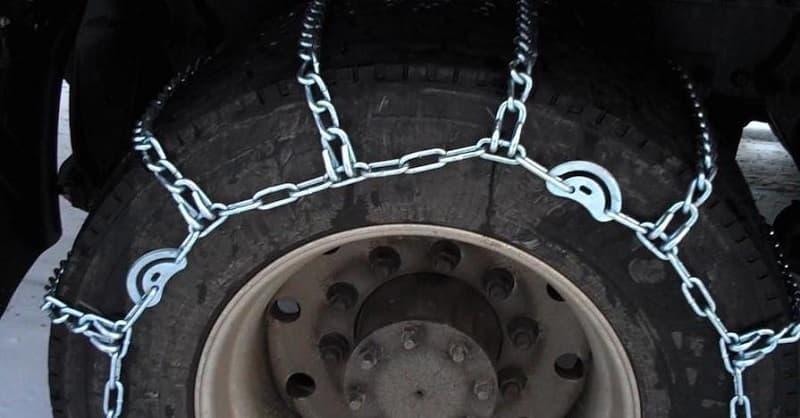
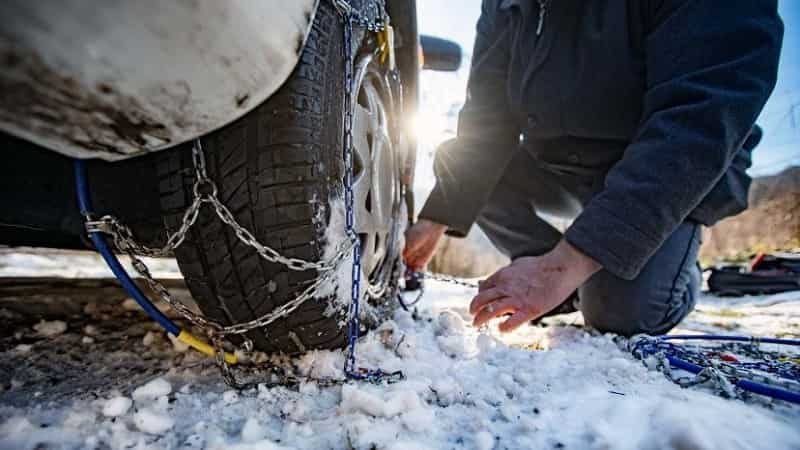
Driving in the winter can be dangerous when you're passing through places with heavy snow or black ice on the road. In either case, your vehicle may lose traction and grip. One option for driving on snow and ice is to put chains on your tires.
Even though snow chains have made a lot of progress in terms of ease of use, fitting them can sometimes be a headache, especially if it needs to be done in an emergency. An excellent method avoids a lot of worries.

How to Install Tire Chains?
Contents
Tools required
- A chain kit (you only need two chains, unless you equip a 4x4)
- A pair of gloves
Which wheels to install the chains?
We must mount the chains on the driving wheels. Usually, these are the front wheels. However, with rear-wheel drive, it is advisable to mount the chains on the four wheels. It will avoid losses of the grip of the front axle.
It is preferable to fit the snow chains before your departure. Choose a safe location off the road where you can maneuver your vehicle. Move your car forward or backward a few meters during assembly.
If you must fit the snow chains while you are already on the road, choose a flat and safe space. Do not forget to put on the regulatory reflective vest. Make sure the handbrake is engaged before starting. Block your vehicle with chocks if you are on sloping ground.
Tips for you before buying tire chains
Find out if snow chains are legal: In some areas, tire chains are not allowed. Even in snowy areas, they are often illegal in certain months of the year. Contact your local government to find out the regulations.
Buy the right tire chain: Tire chains need to fit your tires, and your vehicle should have enough clearance to accommodate the chains once they're installed. You'll also need a trunk or cargo space to carry the snow chains.

How to Install Tire Chains?
How to install tire chains with 10 easy steps
1. Find a flat area to install the tire chain: You need to spread the tire chains on flat ground, making sure they are flat, free of twists and tangles. We recommend doing this before starting a journey.
2. Start installing the tire chain: Place the chain on the top of the tire, then hook or clamp them with the side of the tire facing you, so that the traction part facing up.
Depending on the type of leash you have, you may need to drive your vehicle forward a few steps to complete hooking the chain to the tire. Visually, check that it evenly distributes the chains on either side of each tire.
3. Join the two ends of the chain at the top of the tire. There should be a slight float of fewer than five centimeters.
4. Then join the other attachment points.
5. Attach the hooks that are on the side of the chain. In principle, there are four that must be connected by two to form a cross.
6. Tighten the chains using the tensioner that runs diagonally along the outer side of the tire.
7. Check that the chains are properly hooked to both tires.
8. Ride with the chains: As soon as you have finished assembling the chains, start the engine. Drive forward about 15 feet at low speed and recheck for tightness. And it should allow your chains to take their place on the wheels.
9. Get out of your vehicle to check that they are correctly placed and tensioned. Tighten the tensioner to ensure the perfect stability of your installation. It is unnecessary to tighten too hard, it could break the tensioner.
10. You can continue your journey serenely. However, you are prohibited by law from exceeding a speed of 25 miles per hour with a vehicle fitted with chains. Finally, do not leave the chains in place if your vehicle is to be parked for a long time.
Remove the snow chains
The Government forbids riding with snow chains if there is no snow on the road. If you know how to fit snow chains, you will know how to remove them. For this issue, it suffices in practice to perform the reverse operations of those of the assembly.
1. Drive your vehicle so that the upper hook is at the top of the wheel.
2. Position your wheels so that the end caps are towards the top of the tire.
3. Remove all the hooks.
4. Remove the closures.
5. Put the chain out flat on the front and back of the wheel.
6. Drive your car forward slowly to release the chains.
7. Finally, after each use, remember to clean your chains with boiling water. Dry them before putting them away. This will prevent their oxidation, which will prolong their lifespan.
What should you do to install successfully?
- Check that you can fit your car with chains before purchasing winter equipment (see the instructions in the maintenance or logbook of the vehicle). It shows whether the vehicle is chainable and the maximum thickness of the links.
- Practice before to avoid any nervousness synonymous with mistakes. Do not wait until the last moment to familiarize yourself with install the tire chains.
- Remember to apply the handbrake of your vehicle during assembly.
- We should only use snow chains on snow or ice and remove them immediately as soon as weather no longer requires their use or when the vehicle is parked.
- Immerse the chains in scorching water after each use, and dry them before storing them. It prevents their oxidation.
- Never drive on a broken tire chain: Stop the vehicle immediately if the chain falls off or breaks. Reattach or repair the chain if possible. If not, remove the chains and drive extremely carefully without them. In the event that the tire chain is visibly worn, you should consider replacing your tire chain.
Things you should avoid when installing tire chains
- Avoid any prolonged contact on asphalt as much as possible, which could quickly damage the product.
- Do not leave the snow chains fitted to your car if you leave it parked for a long time.
- Avoid violent starts, acceleration, and braking so as not to damage your snow chains.
- Don't go more than 25 miles per hour, otherwise it will damage the snow chain or your car.
Conclusion
Hopefully, the above tire chain installation instructions can help you be more confident when driving on snow.
Our final recommendation is that you practice at home before each trip to have the technical and not be too awkward when going through areas with heavy snow.
I’m Ivo Gievski, the content writer for Tireer. We built our website with over 15 years of experience and extensive research in the automotive and technology sectors. My dedication to delivering high-quality content is unwavering, and I strive to continuously hone my skills to stay ahead of industry trends and provide readers with informative, engaging, and valuable insights.